Diagnostics
Diagnostics with multimeter
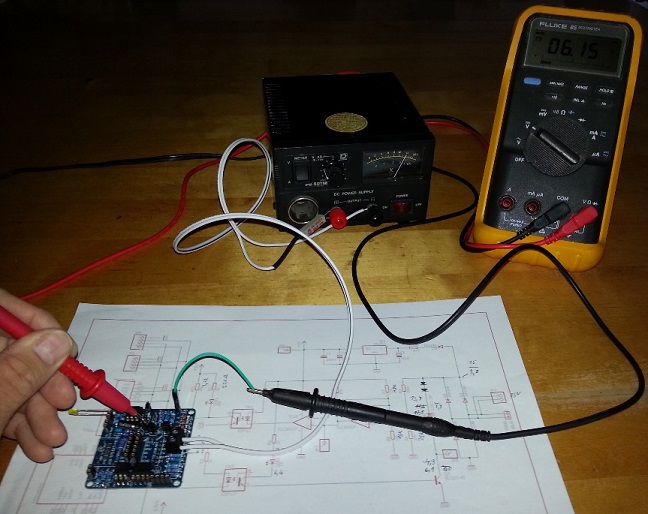
The Measurement Plan of the base board contains all important measurement points with the necessary voltages.
The measurement described here takes place only on the base board without the extension board plugged onto it:
- Remove eBUS.
- Remove UART.
- Insert TX LED2.
- Connect base board to a power supply using the 330 ohm 5 Watt resistor.
- The voltage at eBUS terminal should be 17 volts.
- Compare the voltages with the measurement plan.
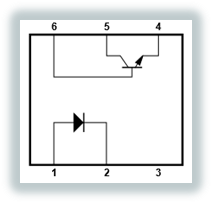
In order to switch to TX mode, pin 4-5 must be short-circuit on optocoupler 2.
This can be achieved by using a small screwdriver hold in between the pins.
In case it is nnecessary to solder out an optocoupler, the pins can be cut with a cutter and afterwards clean the holes with desoldering wire.
Diagnostics with oscilloscope
If you have an oscilloscope you can simplify troubleshooting a lot since more information can be gathered. Here are some examples of erroneous signals:
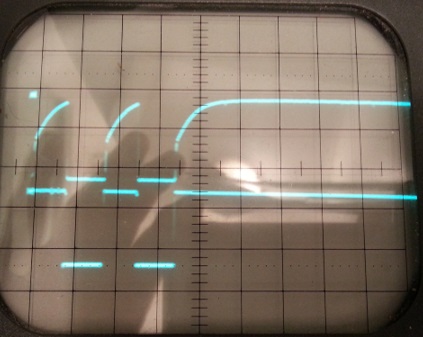
Here, the second channel (bottom) was triggered by the TX signal of the UART. The upper channel shows a signal coming from an improper optocoupler measured at the OK2 pin 4. This was an experiment with an optocoupler having a Darlington stage. As can be clearly seen, the edge rises in a curve form and the eBUS interprets this signal incorrectly. Ideally, the upper signal should be equal to the lower one, the steeper the flank, the better.
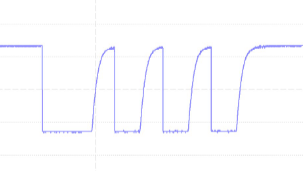
Likewise, the signal shown here (incidentally, this was measured by a Raspberry on the RX) would also lead to no success. The maximum allowed 50 microseconds were far exceeded due to the waveform.
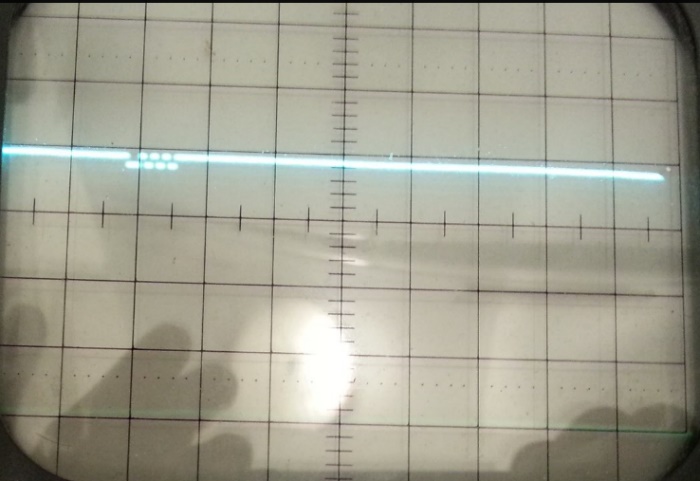
This is a signal that is drawn too low on ground (GND is the lowest first grid block). There is an error in the GND connection on the board, GND was connected to GND2. This error can also be found with a multimeter (see above).
